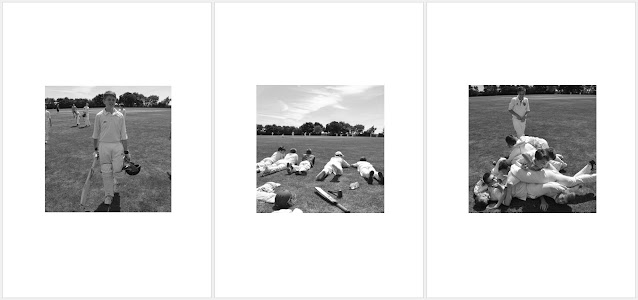
Probably the most efficient and effective way of laying out your work is to do it in the manner as illustrated below. These examples are of how your independently produced work should look once you've been on the course for a few months. The main thing to take from these examples is the balance between images and written work along with the type of content.
The examples here are produced in a word document using 3 columns per A3 page. In recent years students have worked with Power-point rather than Word as they find it easier. It's up to you to decide which method your prefer, but you'll need to do quickly during the production of the Pinhole project.
This applies to all types of shoots and practical activities such as printing or preparing materials, albeit in a slightly different way that you'll be directed as to how to do so.
Looking at the image above, the section which is highlighted in Blue is the written planning section, here you might explain what equipment you're going to use and why it's potentially fit for purpose or why you're going to try it. This shows prior knowledge and fore-thinking which is a part of the problem solving aspect to your work (criteria AC2). In studio shoots this would also include the use of a floor plan diagram and there's no reason why a diagram couldn't be used even when working on location. You can/should use maps from Google (Screen grabs) and these can be used in place of diagrams explaining the light direction and the problems the light might cause when shooting your pictures.
Following the plan you should use a reference image or several - here there's a series of images grabbed off a Google image search of cricket pictures. Usually, you'd use an image from the photographer that's inspired or influenced you along with a little research about the photographer and the images (2 paragraphs)?
Then you should upload your contact sheets - showing a good ranged of images from the shoot that represents the range and diversity of your approach. If you shot hundreds and many of them are exactly the same - edit them down to show a representation of your approach and methods.
Then look to fill a page or two, maybe more of the best images from your shoot showing a good range and variety.
Then at the end highlighted in Green the all important reflection. The reflection is an opportunity to further demonstrate knowledge, but more importantly question what you've done and whether it is any good (Fit for purpose) and if it could be done in a different way that might be better? Explain using photographic terminology what's wrong with the images or your approach and whether you achieved what you'd set out to do in the plan. Use the reflection to analyse what kind of images you've produced - how could they be used, who might the client be, why do they suit the client and their intended purpose? How have you used visual language tools to communicate the meaning and narrative and has it worked effectively - is the story/message clear?
The highlighted in yellow section in this instance is Health and safety considerations.
Then include a minimum of two images as above from your shoot which are your best examples. You need to keep in mind next Oct/Nov/Dec in your second year you need to start collecting the best of your work to start creating a portfolio. *Also add them to your Padlet that you created in the WEX lessons.


No comments:
Post a Comment